

Before reading:
The Talmud Yerushalmi (Avoda Zara 5:15) describes libun as heating with fire until sparks emanate from the utensil. The Talmud Bavli (Avoda Zara 76a) defines libun as heating a utensil with fire until a layer of the metal burns off.
Please consult with your Rabbi before koshering your kitchen
Libun kal. Either (a) applying a torch or coals to all parts of the inside of the equipment until the outer reaches yad soledes bo or (b) heating an oven chamber to 550° F and maintaining that temperature for an hour.
Also, See Chabad.org
Conventional Oven
Kashering your oven No part of the stove can be considered kosher for Pesach unless it is immaculate and free from any baked-on food or grease. This includes the stove, cooktop, and broiler. Conventional oven In a traditional oven, whether gas or electric, an oven cleaner may be necessary to remove baked-on grease. Be sure to check hidden areas, including corners, door edges, the area behind the flame burners, and the grooves of the rack shelves. Suppose a caustic oven cleaner (such as Easy-Off ) was used to clean the oven. Some stubborn spots remained after a second application with similar results. In that case, the remaining areas may be disregarded. Once the oven and racks have been cleaned, they may be kashered by libun kal. The requirement of libun kal is satisfied by turning the oven to broil or the highest setting for 40 minutes. In a gas oven, the broil setting will allow the flame to burn continuously. In a conventional electric range, the highest setting (550°F) kashers the stove. Only libun kal is required for the oven racks since it is usual to cook food in a pan and not directly on the frames.
Self-Cleaning Oven
In a self-cleaning oven, before using the self-clean cycle, one should clean the inside face of the oven door and the opposing outer rim of the stove outside the gasket since these areas are not necessarily cleaned during the cycle. One should ensure the gasket is clean on the site outside the oven seal. (NOTE: The gasket is sensitive to abrasion.) The self-cleaning cycle will then clean and kasher the oven simultaneously. Caution: There is a potential fire risk during self-cleaning, especially if grease is built on the bottom of the range. One should apply Easy Off, especially for self-clean ovens, to lift and remove the oil. The stove should be supervised while in self-cleaning mode. Most oven manufacturers instruct consumers to remove the oven racks before self-cleaning, so they will not discolor. However, one may self-clean the oven with the shelves inside even though they might damage it. After the self-clean cycle, one should use a little oil on the side of the racks to easily slide them in and out of the oven. Some manufacturers also require the removal of the shelves before the self-clean cycle can start. In this case, one should take the racks out, clean them very well, and then put them in the oven at the highest temperature (usually 550°F) for 40 minutes. This procedure kashers the racks.
Some ovens come with a convection feature. This feature allows for more uniform heat distribution by using a fan to circulate the heat. Suppose the convection oven has a self-cleaning feature. In that case, it will be sufficient to also kasher the fan using the self-clean kashering method previously mentioned. If there is no self-cleaning feature, the entire oven, including the fan while it is circulating, must be sprayed with a caustic cleaner and cleaned well. The range should be kashered by turning it on to the 550°F setting for forty minutes. Many ovens today have ‘Aqualift’ or ‘Steam Clean’ instead of a convenient self-cleaning feature. Neither ‘Aqualift’ nor ‘Steam Clean’ get hot enough to kasher the oven. Instead, use the Conventional Oven kashering method as described above.
Oven Hoods and Exhaust Fans
Hoods and exhaust fan filters should be cleaned and free of food residue.
Broiler and Broiler Pan
We recommend contacting a professional
If you aren’t a pro please don’t run out and buy yourself a blow torch; safety first, consult with your local rabbi or research professional service.
The broiler pan cannot be kashered by merely turning on the gas or electricity. Since food is broiled or roasted directly on the pan, the pan must be heated to a glow for Pesach use. This can be done using a blowtorch (but only by qualified and experienced individuals). They should do this in a darkened room to more easily observe when the metal is glowing. An alternative method is to replace the broiler pan. The empty broiler cavity must then be kashered by cleaning and set to Broil for 40 minutes. Suppose one intends to use something other than the broiler. In that case, one may still use the oven even without kashering the broiler, provided that the broiler has been thoroughly cleaned. Other inserts, such as griddles, which come into direct contact with food, are treated the same as broiler pans. Therefore, they would also require the application of direct heat until the surface glows red. Otherwise, the insert should be cleaned and not used during Pesach.
Warming Drawers
Warming drawers cannot be kashered because the heat setting does not reach high enough to constitute libun. The warming drawer should be cleaned, sealed, and not used during Pesach.
Microwave Ovens
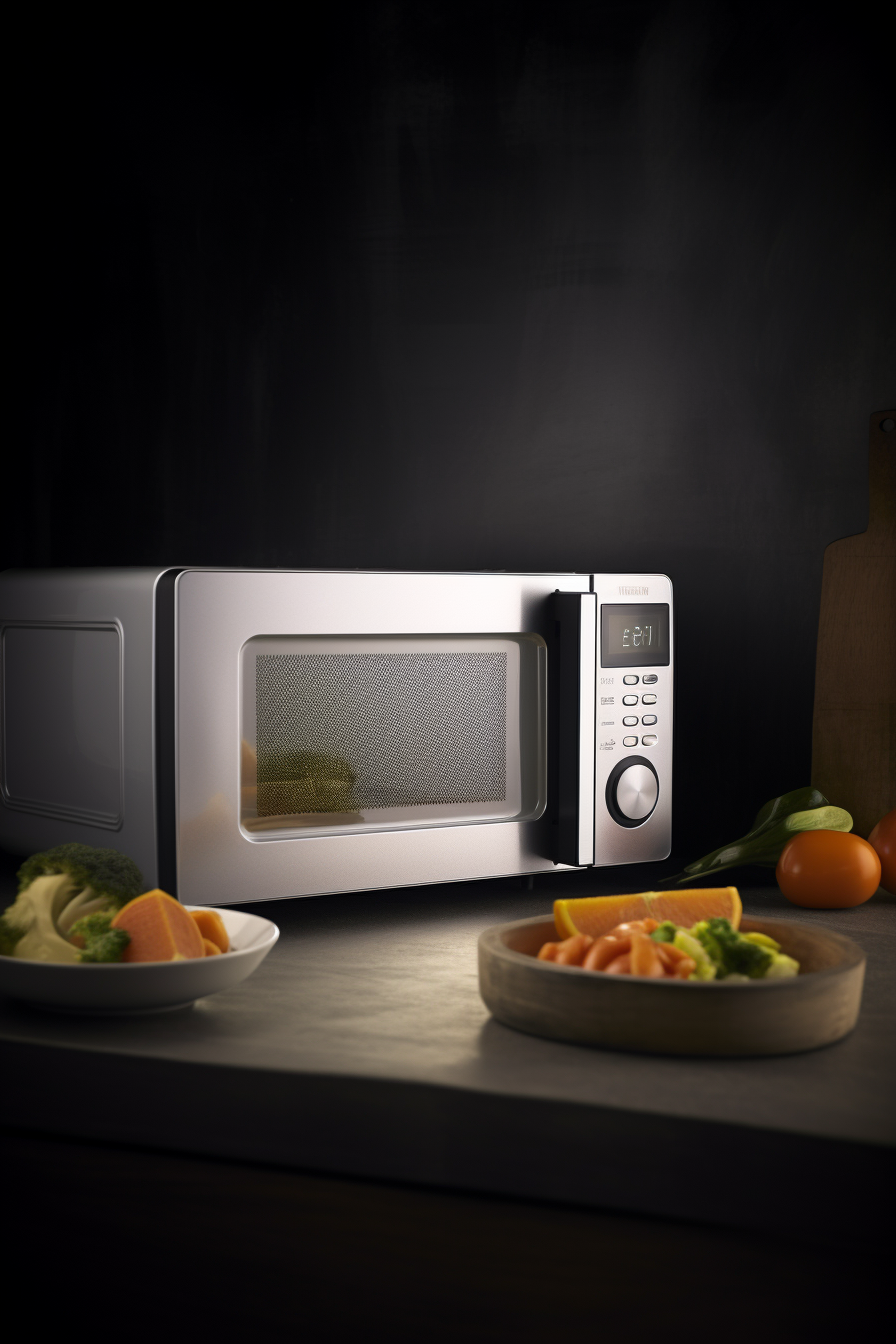
When microwaves are used, they do not necessarily absorb chometz. The microwave should be tested to see if the walls become hot during use. To do this, one should cook an open potato in the microwave until it has been steaming for a few minutes. Immediately after the potato has been cooked, one should place a hand on the microwave ceiling to see if it has become too hot to touch. If one cannot hold a hand there for 15 seconds, we assume the microwave has absorbed chometz. If so, the microwave should be cleaned and sealed for Pesach. If it has not absorbed chometz (i.e., one can hold his hand there for 15 seconds), the microwave must only be cleaned well.
One should wait 24 hours before using the microwave on Pesach. The turntable should be replaced because it has come into contact with hot food and would not pass the hand test. One may return the turntable with a ¼” Styrofoam board. Microwave ovens with a convection or browning feature must be kashered using the convection and/or browning mode. The kashering method used would be libun kal. The convection microwave should first be cleaned well. If the fan area cannot be adequately cleaned, it should be sprayed with a caustic cleaner (e.g., Easy Off ) while on and rinsed off before kashering. One should then test the convection microwave to see if it reaches the required heat for libun kal by putting it on its highest setting for 40 minutes. A piece of paper should then be held against the interior wall to see if it gets singed. If the paper is signed, the convection microwave has been heated sufficiently for libun kal and can be considered kashered. Many models fail the test because their settings do not allow the microwave to become hot enough for kashering. If so, the microwave should be cleaned, sealed, and not used during Pesach.
Kashering The Cooktop
Gas Cooktop
On a conventional gas range, the cast iron or metal grates upon which the pots sit may be inserted into the oven after thoroughly cleaning them. The grates can then be kashered simultaneously with the oven. (If kashering with a self-clean cycle, the grates need not be cleaned first. However, it is advisable to check with the manufacturer as to whether the grates would be able to withstand a self-clean cycle. Some grates have rubber feet that may be damaged by the heat of the oven or may damage the oven itself.) Note: The self-cleaning cycle may remove the paint finish if the grate is not manufactured to withstand self-clean. The rest of the range (not glass-top) should be cleaned and covered with a double layer of heavy-duty aluminum foil, which should remain on the range throughout Pesach.
Please Note: Extreme caution should be taken not to cover the vent to allow the oven heat to escape. The drip pans should be thoroughly cleaned and need not be kashered. The burners and caps do not require kashering or covering but should be cleaned.
Electric Cooktop
In a conventional electric cooktop, one must clean the burners well and turn them on to a high heat setting until they glow hot. (This usually takes only several minutes.) The drip pans should be thoroughly cleaned and need not be kashered. The remaining cooktop areas should be cleaned and covered. The knobs with which the gas or electricity is turned on and off should be cleaned. No other process is necessary to kasher the knobs.
Please Note: All ovens ventilate hot steam during cooking. In the past, the hot steam was ventilated through the back of the stove. Today, many ranges no longer ventilate in this manner. The oven steam is ventilated through one of the rear cooktop burners. During oven cooking, if the back vented burner is turned off and covered by a pot or kettle, the hot steam will condense on the burner and utensils. This could create hot zei’a (condensate) that can cause serious kashrus problems with the utensil if the food cooked in the oven is a meat product and the pot on the burner is dairy or pareve, or vice versa. Care should be exercised with the vented burner to keep it clear during oven cooking or baking.
Caution: When placing aluminum foil over the oven backsplash, be careful not to trap the heat from the oven vent between the foil and the backsplash; doing so may melt the backsplash if the oven vents through the back.
Sensi-Temp Burner
To kasher a Sensi-Temp burner for Pesach, remove it from the range top by lifting it halfway vertically and pulling it out. Clean it well and wait 24 hours. Once that time has elapsed, pour boiling water over the sensor, which is located in the middle of the burner. Insert the burner back into its socket by reversing the extraction steps. Turn the burner on to its maximum setting until it glows (about 2 minutes).
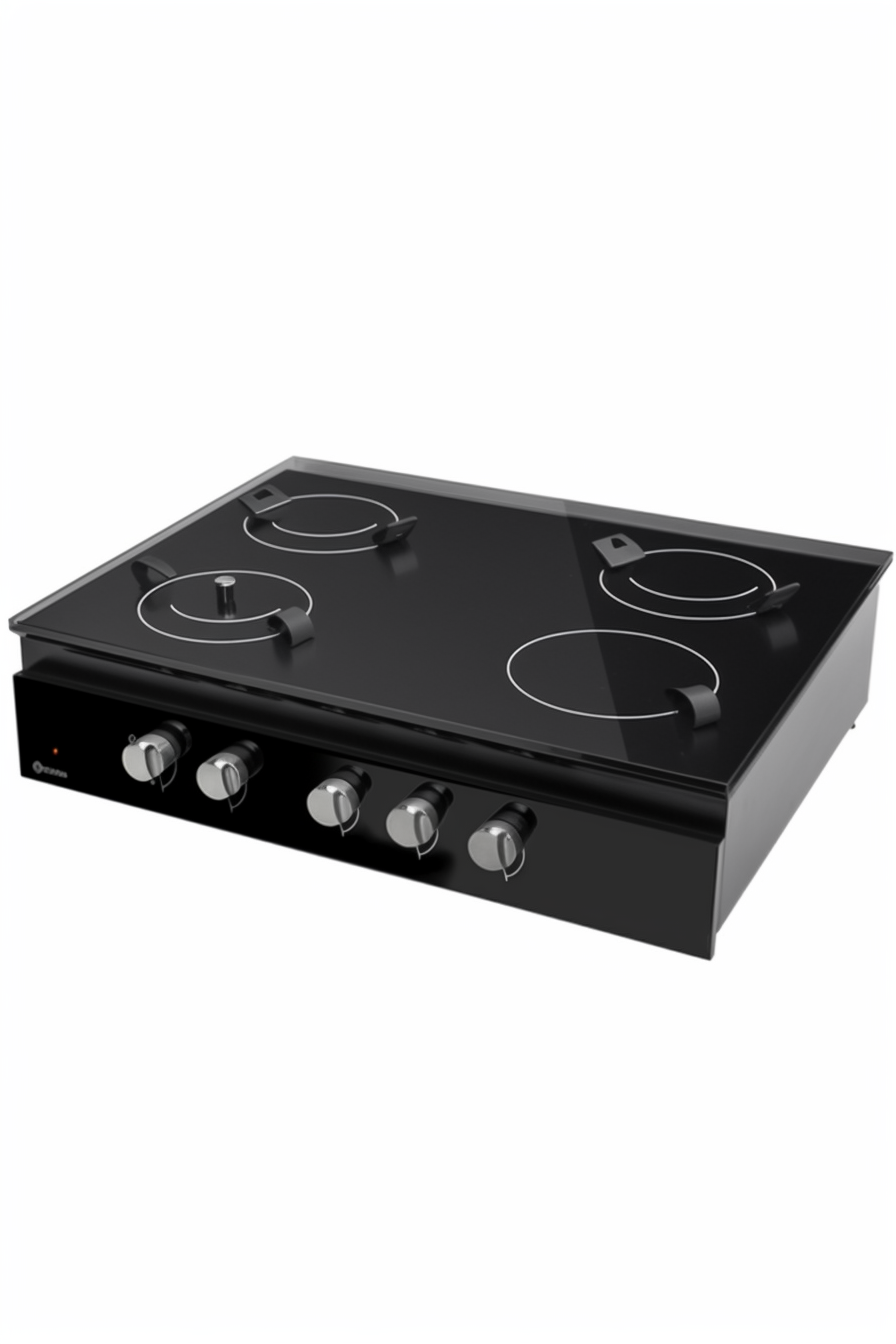
Electric Cooktop with Glass Surface
Kashering a glass-ceramic electric cooktop for Pesach use is a bit complex. To kasher the burner area, one should clean it well and turn on the elements until they glow. The burner area will then be considered Kosher for Passover. However, the remaining place that does not get hot is not kashered. The manufacturers do not suggest covering this area as one would a porcelain or stainless steel cooktop, as it may cause the glass to break. Real kosherization can be accomplished by holding a blowtorch over the glass until it is hot enough to singe a piece of newspaper upon contact with it. However, this may cause the glass to shatter and is not recommended.
As the area between the burners cannot practically be kashered, it would be wise to place a trivet on the open glass area so the pots can be transferred. To use a large pot that extends beyond the designated cooking area, STAR-K recommends one of these solutions:
- Use a cooktop mat made explicitly for a glass stove top.
- Place an approximately 1/8 inch thick metal disc onto the burner area to raise the Passover pots above the rest of the glass surface. (CAUTION: This disc should not extend beyond the designated cooking area.) Or
- Use a stovetop heat diffuser made specifically for glass stovetops. Each of the above suggestions will help alleviate the concern of a pot boiling over, with the resulting trickle of hot liquid serving as a conduit from the Pesachdig pot to the non-Passover stovetop, posing a halachic concern.
Note: Caution should be taken to obtain devices that will not harm the surfaces. Cooking efficiency may be somewhat compromised when using these devices.
Gas Cooktop with a Glass Surface
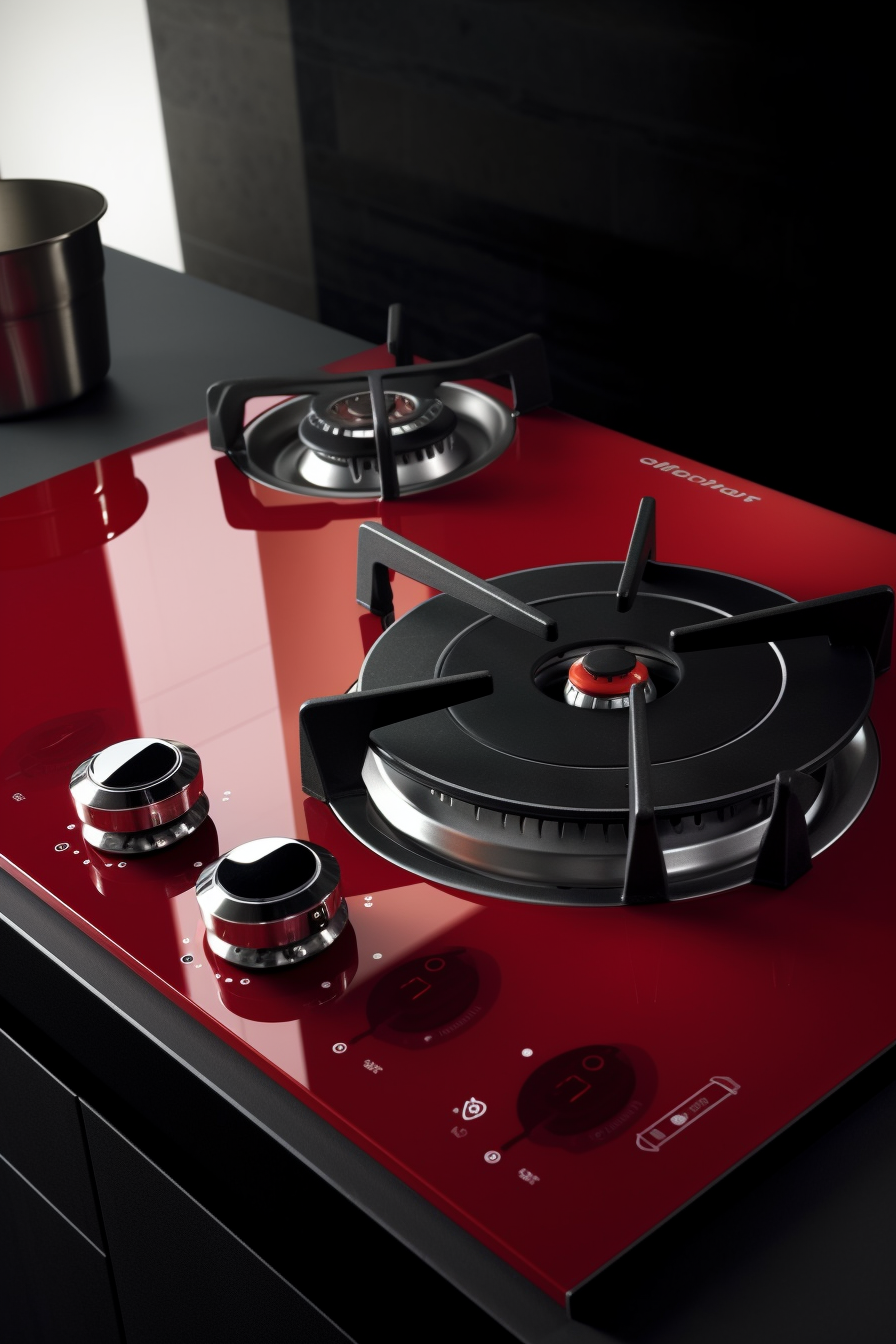
For gas stovetops with a glass surface, one may kasher the grates into the oven with libun kal (550°F for 40 minutes). In most such models, the grates cover the entire top of the stove, and there should be no problem adjusting pots on the stovetop. Food that falls through the grates and touches the glass surface should not be used. For those models where the grates do not cover the entire cooktop surface, it would be wise to place a trivet on the open glass area so that pots may be transferred. No food or pots may directly contact the non-kashered glass surface. Some gas cooktops have an electric warming area on the glass top. To kasher this area, it would have to become red hot when turned on. Many of these warming areas do not become hot enough for kashering and may not be used on Pesach.
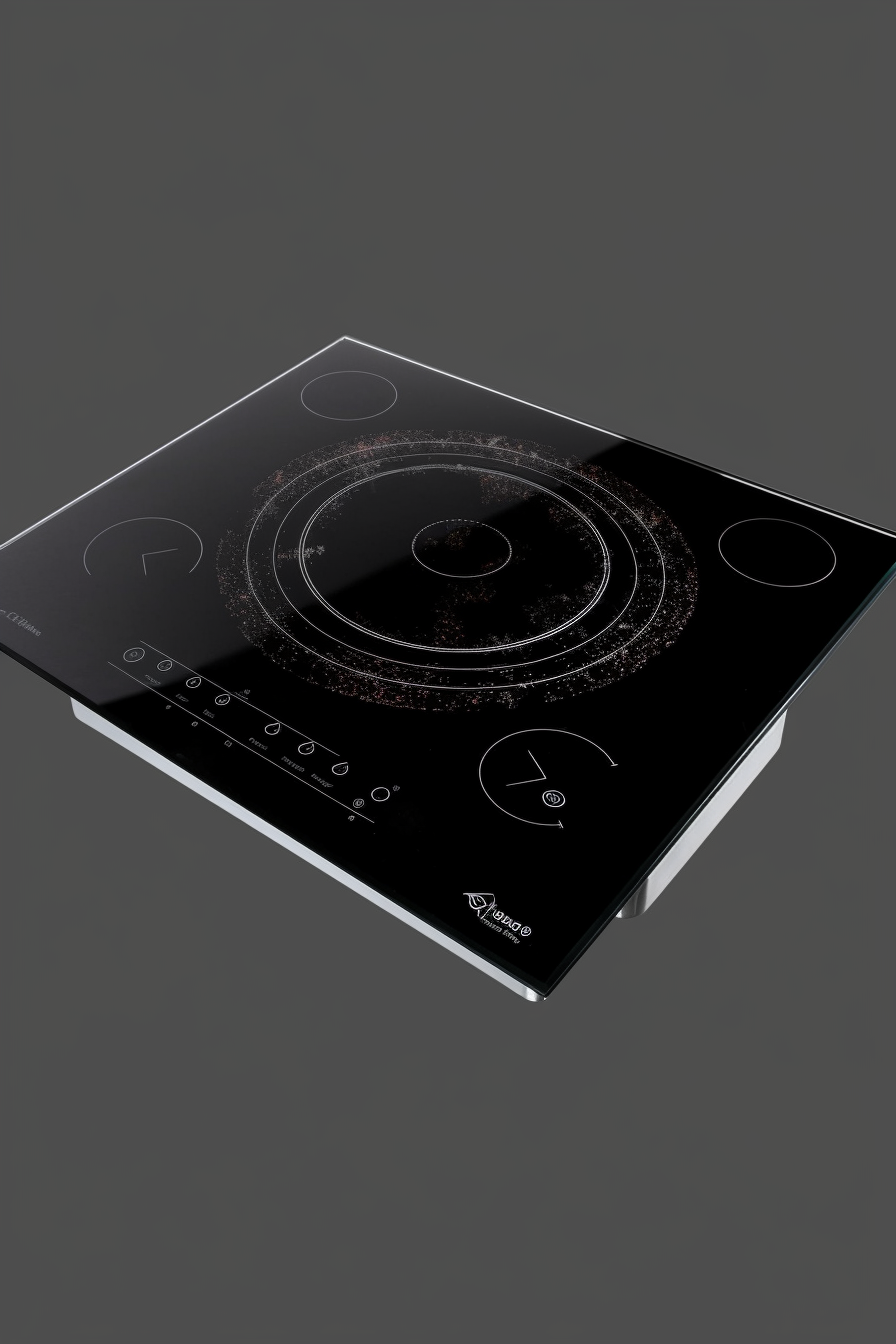
Induction Cooktop
Before kashering an induction cooktop, it must be cleaned and left unused for at least 24 hours. The cooktop then requires iruy roschin. (Refer to instructions below for kashering a stainless steel sink by using iruy roschin.)
Note: Induction cooktops are prohibited from being used on Shabbos and Yom Tov.
Kashering Barbeque Grills
Note: Kashering a grill can be dangerous and should only be performed by competent individuals.
A grill cannot be kashered by simply turning on the gas or electricity. Since food is roasted directly on the grill, it must be heated to a glow to be used. This can be done by sandwiching the grates between the charcoal briquettes and setting them on fire. An alternative method is to replace the grates of the grill. The part of the grill cavity which is level with the grate must also be kashered by heating it to a glow. This is due to the likelihood of food touching that area during barbecuing. The empty gas grill cavity (and the hood) must be kashered by cleaning, closing the hood, and setting it to the highest for 40 minutes. In the case of a regular grill, the cavity should be filled with charcoal briquettes which should be set on fire.
Other inserts, such as griddles, which come into direct contact with food, are treated the same as a grill and would, therefore, also require the application of direct heat until the surface glows red. Otherwise, the insert should be cleaned and not used during Pesach. If the grill has side burners, they should be treated like cooktop grates, assuming no food has been placed directly on them. It is easier to determine that the metal has been brought to a glow in a darkened room.
This information was provided by the Star-K
Learn how to kasher your kitchen for Passover! This comprehensive guide will provide you with the step-by-step instructions and resources you need to properly prepare and kasher your kitchen this holiday season.
Recommend0 recommendationsPublished in Opinion
Responses